Design Board creation
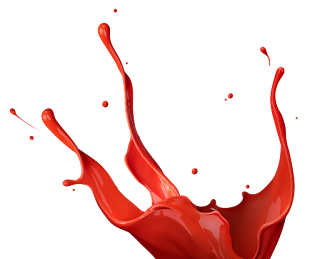
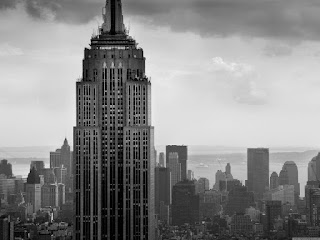
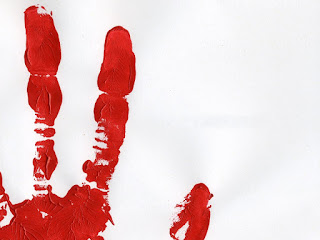 Today we spent time creating a design board for our major project. I thought of combining photos and various marks and splashes to make an interesting effect. My theme is art of imperfection, city and paint splashes and prints.
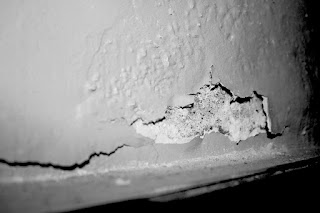
So, I chose four pictures to make my board.
First things first, I chose the right format of document preset in size A4, suitable for printing.
Then, I combined two first pictures by selecting and then copy pasting it onto another layer (Ctrl+C for copy) (Ctrl+V for paste) and then by using Ctrl+T I started resizing the picture to needed format. The next step was reducing the opacity down to 68% and make the splash overlap the background and drag it down to the right corner.
We were taught how to add a text on the picture, that is by using the 'T' type tool. I used the Horizontal type. The font that I chose is called 'Broadway' because it is bold and fits very nicely, in my view.
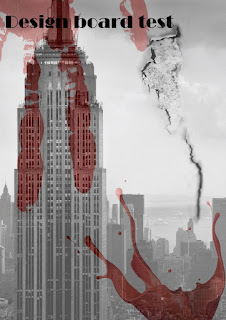
The last step was adding a cracked wall, I used my own picture, so I repeated the copy pasting steps and then by using an 'Eraser' tool and reducing the hardness I removed the excessive parts of the picture, I also flipped the picture vertically. In addition, I made some adjustments to the text and also I pasted a red handprint to make a final board look ore professional and conceptual.

The last step was adding a cracked wall, I used my own picture, so I repeated the copy pasting steps and then by using an 'Eraser' tool and reducing the hardness I removed the excessive parts of the picture, I also flipped the picture vertically. In addition, I made some adjustments to the text and also I pasted a red handprint to make a final board look ore professional and conceptual.


Comments
Post a Comment